
A complete roofing invoice is built in order contractor information, customer and property details, job specifications, a written description of work, itemized materials and labor, equipment used, insurance documentation if applicable, calculated totals, warranty terms, and signatures then exported as a PDF, Word, or Excel file. Following this order matters because each block depends on the one before it: you can't calculate a balance due before you've itemized materials and labor, and you can't document an insurance claim without first recording the job's basic details. Read our guide on understanding the key differences between a roofing invoice vs roofing estimate.
Table of Contents
What Makes a Roofing Invoice Different From a General Invoice? What Information Goes on a Roofing Invoice? Step 1–12: Building the Invoice Common Mistakes That Delay Payment Creating a Roofing Invoice Manually vs. Using a Generator FAQWhat Makes a Roofing Invoice Different From a General Invoice?
A general invoice has a line item, a price, and a total. A roofing invoice needs to carry more because roofing work involves licensing, permits, material specifications tied to a standard unit of measurement, and frequently an insurance claims process that a generic invoice format has no fields for.
The practical difference shows up in three places: roof-specific job data (roof type, pitch, stories, size in squares), licensing and compliance data (state contractor license number, permit number), and insurance documentation (reason of repair, before/after photos). A plumbing or landscaping invoice never needs any of these. Leaving them off a roofing invoice is the single most common reason homeowners question a charge and adjusters send a claim back for more information.
What Information Goes on a Roofing Invoice?
A complete roofing invoice contains eleven information blocks, each covered in its own step below: contractor information, customer information, job details, description of work, materials, labor, equipment, insurance documentation (when relevant), totals, warranty/notes, and signatures. Skipping any of these doesn't make the invoice invalid, but it does make it easier to dispute a customer or adjuster can only verify what's actually written down.
Step 1–12: Building the Invoice
Step 1: Add Your Contractor Information
Start with who's issuing the invoice. This block should include your company name and logo, business address, phone, email, and website, your state contractor license number, your Tax ID / EIN, and the invoice's own metadata invoice number, invoice date, due date, and payment terms.
License number matters more here than on most trade invoices, because roofing is licensed in most states and the license number is often required documentation for both mechanic's lien enforcement and insurance claim processing. Payment terms Due on Receipt, Net 15, Net 30, Net 60, or a 50% deposit / 50% on completion split should be decided before the invoice is sent, not negotiated after, since ambiguous terms are one of the most common causes of late payment.
Practical tip: if you invoice regularly, save this block as a reusable profile rather than retyping it most invoicing tools (including ours) support this specifically because contractor information rarely changes between jobs.
Step 2: Add Customer & Property Information
Record who's being billed and where the work happened. These are sometimes different: the property address is the job site, while the billing address is where the invoice should be sent relevant for property management companies, landlords, or insurance-adjusted claims where a mortgage company or claims office receives the bill instead of the homeowner directly.
Include the customer's name, company name if applicable, phone, and email. If billing address differs from property address, state both explicitly rather than assuming the recipient will infer the correct one.
Step 3: Record the Job Details
This is where a roofing invoice diverges most from a generic template. Record:
- Roof type asphalt shingle, metal, standing seam, tile, slate, cedar shake, flat roof, TPO, PVC, EPDM, or modified bitumen.
- Roof pitch low, medium, or steep, since pitch affects labor and safety requirements.
- Stories and roof size in squares a square equals 100 square feet of roof surface, the standard unit materials and labor are priced against. You can calculate local materials and labor using our free roof estimate Wicomico calculator.
- Project type residential, commercial, or new construction.
- Permit number, if one was pulled for the job.
- Crew size, service date, and completion date.
Recording roof size in squares specifically (rather than a vague "large roof" description) is what lets a customer or adjuster cross-check the materials quantity billed below against the actual job scope.
Step 4: Write the Description of Work
This is the narrative section explaining what was actually done tear-off, deck inspection, underlayment installation, flashing, shingle or membrane installation, and cleanup in language a homeowner or adjuster can follow without a materials background.
A vague description ("roof repair $4,500") is one of the most common reasons invoices get disputed or insurance claims get delayed, because it doesn't prove what work justified the charge. Naming the specific tear-off, underlayment type, ice-and-water-shield placement, and shingle or membrane system installed ties the invoice directly to the materials list in the next step.
Step 5: Itemize Materials
List each material by name, quantity, unit, and unit price, letting the line total calculate automatically (quantity × unit price). Common roofing materials include shingles or membrane, underlayment, ice & water shield, drip edge, flashing, ridge cap, starter strip, pipe boots, ventilation components, and fasteners/sealants.
Itemizing materials rather than folding them into a flat project price does two things: it shows the customer they're paying for specified, warrantied products rather than unspecified generics, and it creates the paper trail needed for manufacturer warranty registration later, which typically requires proof of the exact product installed.
Step 6: Itemize Labor
Bill labor separately from materials by description, crew size, hours, and rate because labor cost varies with pitch, height, tear-off complexity, and access difficulty in ways a single "installation" line item doesn't capture. Separating tear-off labor from installation labor, for example, shows a customer why removing three layers of old shingles cost more than a single-layer tear-off would have a common source of change orders on older homes if it isn't documented up front.
Step 7: Add Equipment Used
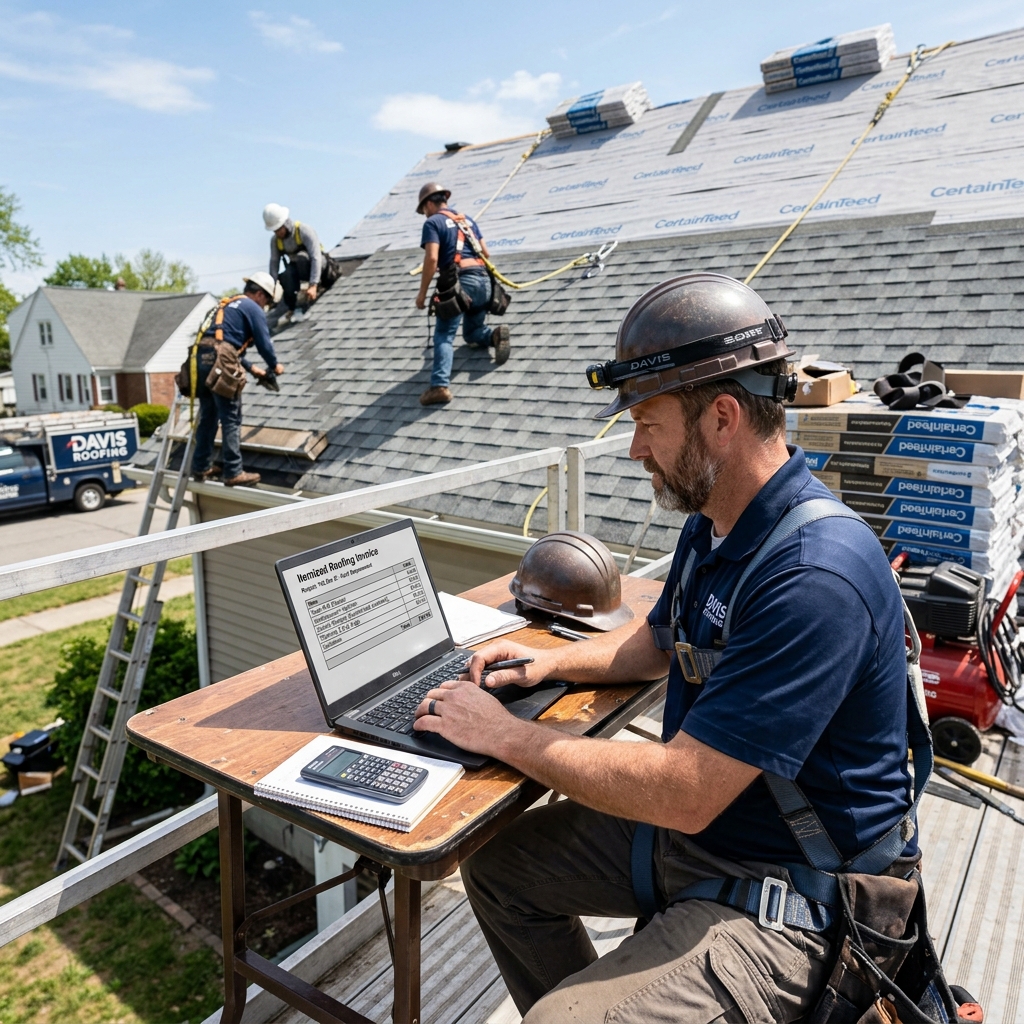
List equipment charges separately dumpsters, cranes, lifts, scaffolding, ladder hoists, safety harnesses. On steep-pitch or multi-story jobs, equipment can be a meaningful share of total cost, and itemizing it explains why two roofs of the same size can have very different totals.
Step 8: Document Insurance Claim Details (If Applicable)
If the job is being billed against an insurance claim, add two things: a specific reason of repair (storm and wind damage, hail impact, tree or fallen debris, roof leak and water damage, wear and tear/aging shingles, fire or structural damage, general restoration, or other repair/maintenance), and before and after photos damage documentation and completed-work documentation, ideally shown side by side.
Adjusters process claims against their own line-item estimate. An invoice that pairs a documented cause with photo evidence and a materials/labor breakdown that mirrors that structure is processed faster than one that requires a follow-up request for more detail and every round of clarification delays payment.
Step 9: Calculate Totals and Balance Due
Run the totals in order: subtotal (materials + labor + equipment), minus discount, plus tax, equals total due. Then subtract any deposit already collected to arrive at balance due.
Recording deposit paid as its own line rather than simply invoicing the remaining amount with no reference to what was already paid matters specifically for jobs billed on a 50/50 or milestone schedule, since the customer should be able to see exactly what they already paid and what remains, rather than being handed a full-price invoice after a partial payment. Apply tax per your state and local requirements to the appropriate portion of the subtotal, and show any discount as a visible line item rather than baking it into unit prices, which keeps materials and labor numbers auditable.
Step 10: Add Warranty Terms and Notes
Document what's covered: a workmanship warranty (commonly around 10 years) separate from the manufacturer's product warranty, which has its own term and its own registration requirements. Putting the warranty term directly on the invoice rather than a separate document that can get lost gives the customer a permanent reference and gives you a defensible record of what was promised.
Add customer notes for anything the client should know (maintenance advice, follow-up scheduling) and keep internal notes separate crew instructions or supplier information that shouldn't appear on the customer's copy.
Step 11: Collect Signatures
A signed invoice contractor and customer both converts the document from a bill into a signed acknowledgment that the work was performed and accepted. This matters for final payment disputes, lien rights, and insurance claim submissions that require proof the homeowner accepted the completed work.
Step 12: Choose a Format and Send It
Export to whichever format fits the recipient: PDF for emailing to a customer or adjuster, Word if you or the recipient need to make manual edits afterward, Excel for bookkeeping and accounting import, or print for a physical job-file copy. A share link works when you want to avoid an email attachment entirely. The content of the invoice doesn't change between formats only how the recipient will use it.
Common Mistakes That Delay Payment
- A single lump-sum line instead of itemized materials and labor. This is the single most common reason a roofing invoice gets questioned.
- No license or permit number on file when the job required one a red flag for both customers and adjusters.
- Vague description of work that doesn't name the specific tasks performed.
- No documented reason of repair or photos on an insurance-related job, leading to claim delays.
- No deposit recorded on a milestone-billed job, confusing the customer about what's actually owed.
- No signature, leaving no acknowledgment of accepted work if a dispute arises later.
- Ambiguous payment terms, or none stated at all, leaving the due date open to interpretation.
Creating a Roofing Invoice Manually vs. Using a Generator
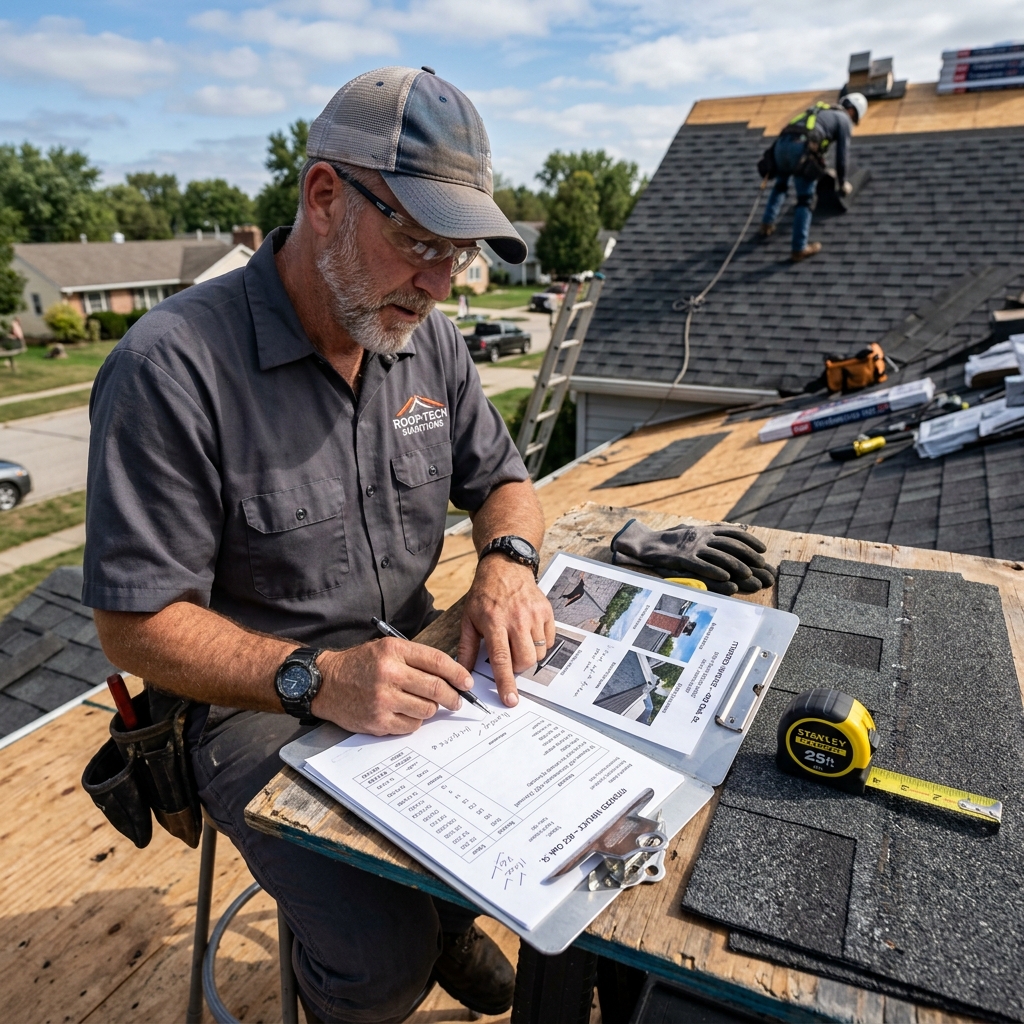
Building a roofing invoice manually in a blank Word document or spreadsheet works, but it means recreating this entire structure and remembering every field above every single time, with no built-in calculation for totals, no reusable contractor profile, and no roofing-specific fields unless you build them yourself. A generator built specifically for roofing (like our free online roofing invoice generator built for contractors) keeps this exact structure in place automatically: contractor profile saved for reuse, job fields for roof type/pitch/size/permit already present, automatic subtotal/tax/deposit/balance calculation, and insurance documentation fields that appear only when a job needs them. The steps are identical either way , a generator just removes the risk of forgetting one of them.
11. FAQ
How long should a roofing invoice take to create?
With a saved contractor profile and clear job notes on hand, a complete roofing invoice takes a few minutes to fill in field by field. Building the same structure from a blank document each time takes considerably longer and is where fields most often get skipped.
Do I need a permit number on every roofing invoice?
Only if the job required a permit. Many roof repairs don't; most full replacements in permitting jurisdictions do. Leave the field blank rather than guessing if you're not sure a permit was pulled.
Can I send a roofing invoice before the job is finished?
Yes, for deposit invoicing record the deposit amount as its own line and issue a second invoice or update showing the deposit applied against the final balance once the job is complete.
What's the difference between a roofing invoice and a roofing receipt?
An invoice requests payment; a receipt confirms payment was received. The same document can often serve both purposes if it clearly states the balance due is $0 and the payment date once it's been paid in full.
Should tax be applied to labor, materials, or both on a roofing invoice?
This depends on your state and local tax rules some jurisdictions tax materials only, others tax the full invoice. Check your local requirements rather than assuming, since this varies significantly by location.
Can one roofing invoice cover multiple properties?
Generally no each property should have its own invoice with its own property address and job details, even if the same customer owns multiple properties, since insurance claims and permits are tied to a single address.